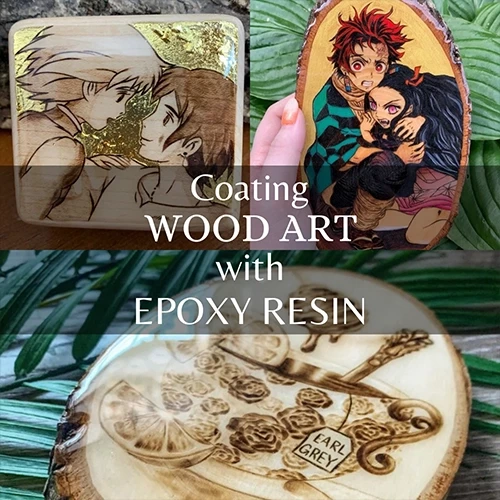
Petri Coasters - Burst and Wormhole Effects
Create original resin coasters with this fun project using Art 'N Glow Epoxy Resin! Our epoxy resin can be used to create everything from resin coated artwork and tumblers to dice, coasters and jewelry. Today, we're going to show you how to use our epoxy resin to create two different "petri effects" to create one-of-a-kind coasters!
-
Learn all about alcohol inks and resin
-
Be inspired by videos, images, and tips from people who are familiar with the ins and outs of creating resin coasters
What Effects Can I Create with Alcohol Inks?
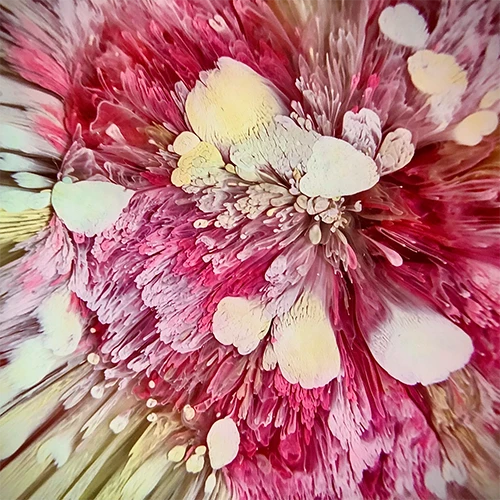
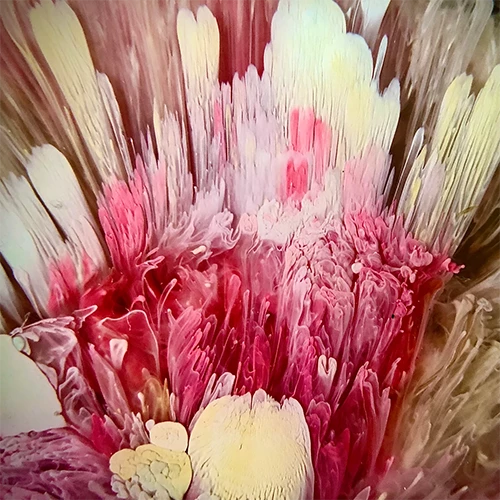
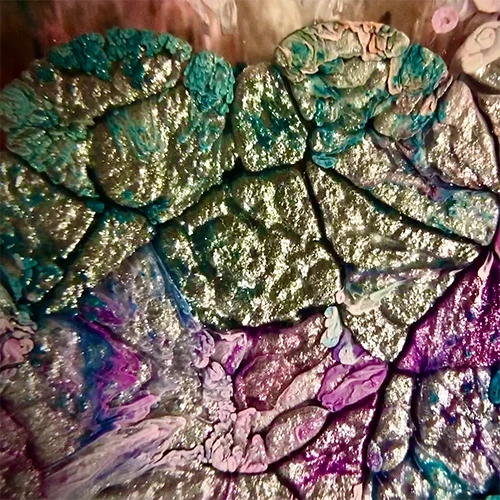
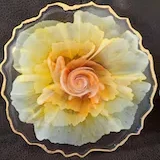
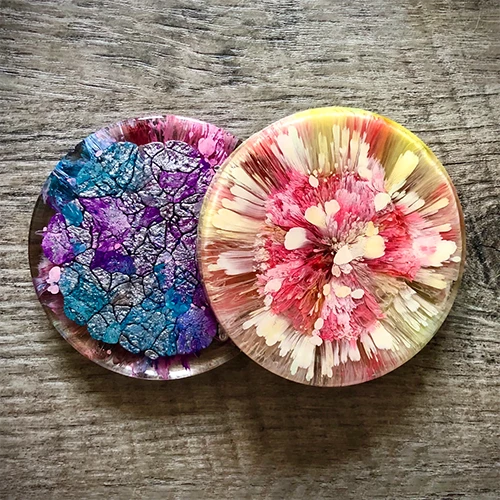
Creating a petri effect using alcohol inks with resin is a fascinating and artistic process that results in beautiful and unique designs resembling the look of fluid-filled petri dishes. This technique involves combining alcohol inks and resin to produce mesmerizing patterns, color bursts, bubbles, wormholes and colorful swirls. As the ink spreads and interacts with the resin, a stunning interplay of colors and forms emerges. Each piece you make will be unique and unpredictable, making this technique a truly captivating and enjoyable fun DIY project.
Art by: Megan Hogeman
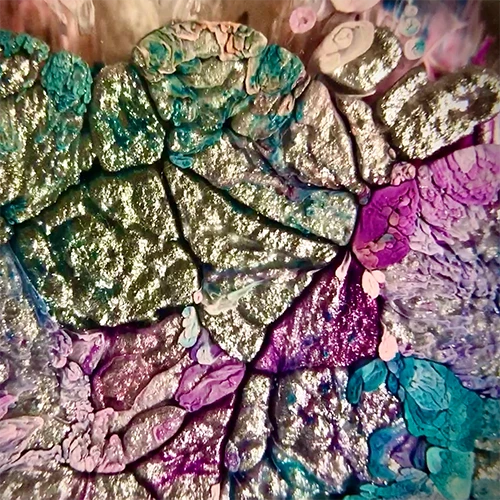
Art by: Megan Hogeman
DIY Project: How to Create Petri Resin Coasters
Materials to Make your Own Petri Resin Coasters
-
Circle Silicone Coaster Molds (4" circles were used for this project)
-
Alcohol Inks in your choice of colors
-
White Alcohol Ink (Jacquard Pinata Blanco was used for this project)
-
Light Colored Pearl Pigments or Mica Powder
-
Silicone Mat or Preferred Work Surface
-
Plastic disposable cups for measuring and mixing
-
Stirring utensil (i.e. popsicle sticks)
-
Gloves
Step-By-Step Instructions
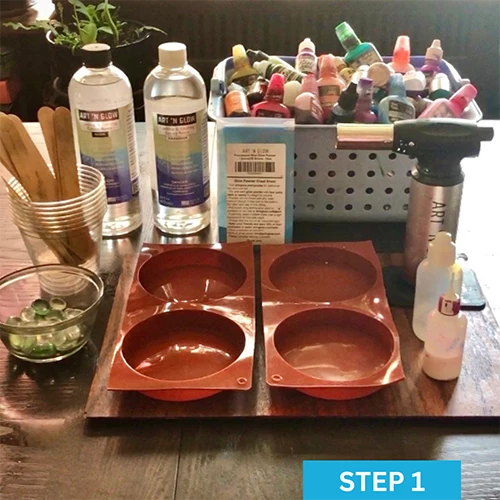
Step 1: Prepare your workspace. Gather your resin, silicone mold, mixing cups, stir sticks & gloves.
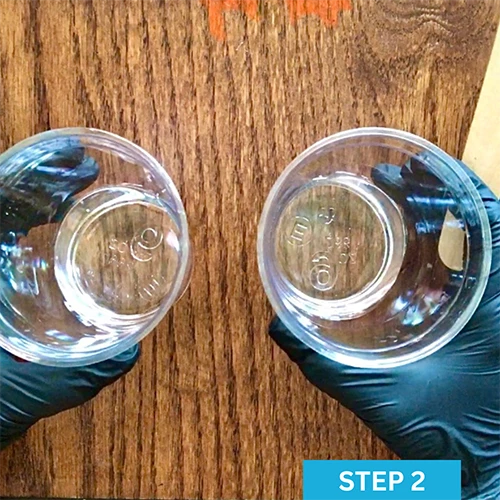
Step 2: Measure your resin and hardener. The silicone coaster molds used in this project can hold 4 fl.oz. each. You don’t want to fill them to the top so, just pour about 1.75 oz. resin/1.75 oz. hardener & combine.
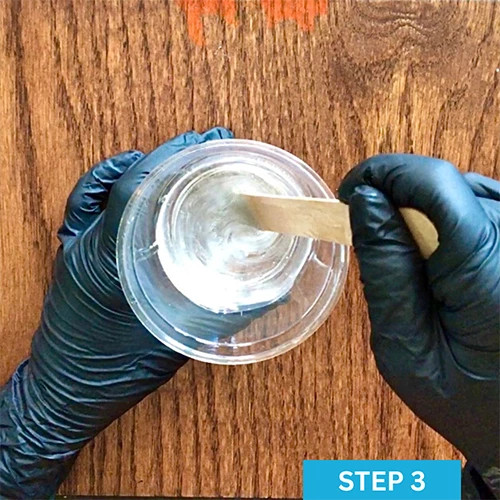
Step 3: Mix your resin & hardener for about 5 minutes, making sure to scrape the sides and the bottom edges to ensure it is fully mixed. Pour your resin mixture into your mold.
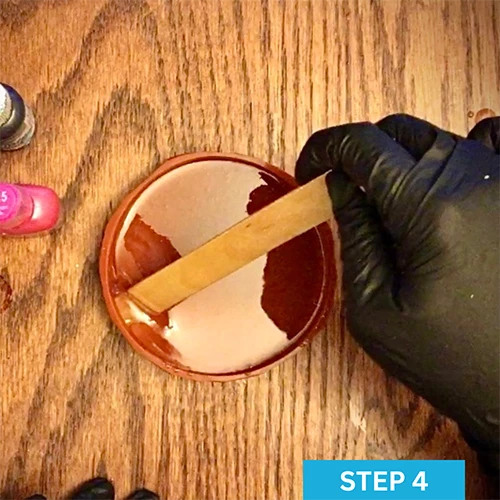
Step 4: Remove bubbles. Using your stir stick, make sure to bring any bubbles trapped in the corners up to the surface. Let your resin sit for about a minute & then sweep your torch above the surface to remove any bubbles.
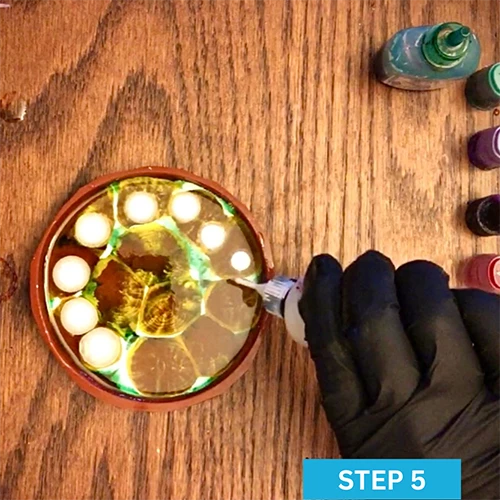
Step 5: Time to add the alcohol inks! With each drop of color, you’ll want to add one drop of the white alcohol ink behind it right away. We suggest doing between one to three layers of colored ink and white. You don’t need to apply these layers in any pattern, just go wild and have fun!
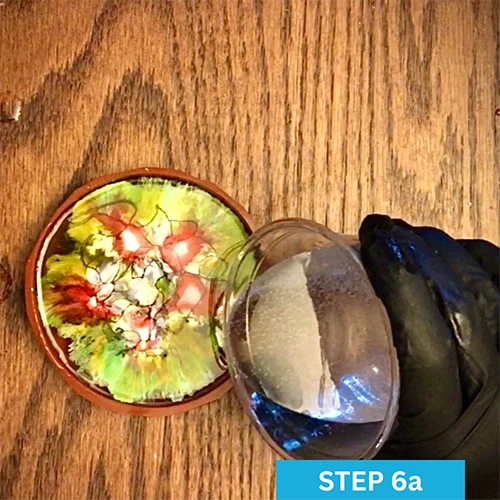
Step 6a: Option 1 -To create the “Burst Effect,” once you are done adding all of your alcohol inks, drizzle the leftover clear resin you saved right on top of your work. There is no rhyme or reason to this step, just drizzle it all over! Cover & let cure for 24 to 72 hours.
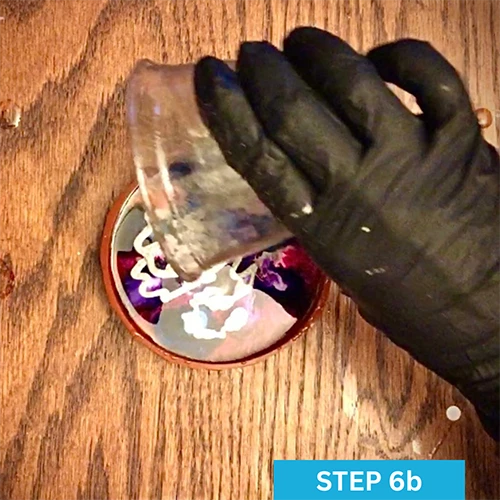
Step 6b: Option 2-To create the “Wormhole Effect,” once you are done adding your alcohol inks, you’ll want to wait a few minutes. While you’re waiting, using about a stir stick tip scoop of mica powder, mix it into your leftover resin you saved. Drizzle it carefully all around the top. You can make globs or you can just pour it all over. They always come out looking like a very cool surprise! Cover & let cure for 24 to 72 hours.
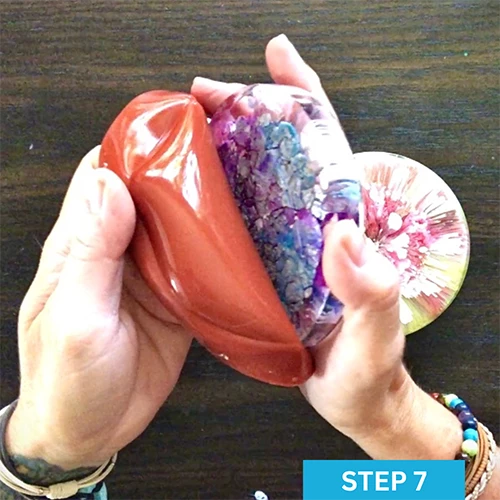
Step 7: Time for the reveal! Pop out your coasters & check out your work.
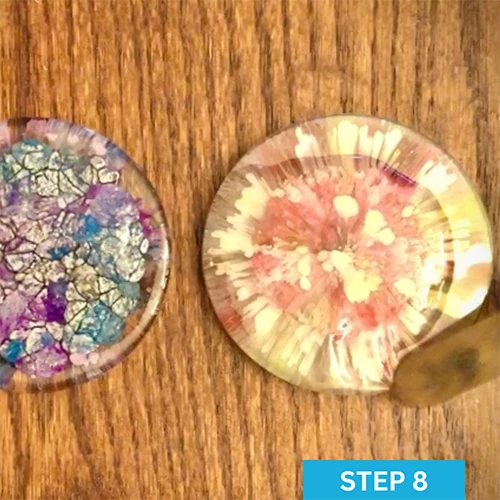
Step 8: Apply the topcoat. This doesn’t take too much resin, just about 0.5 fl. oz. per coaster. Once you’ve mixed your resin for this, pour onto the top of your coaster now that it’s right side up. Spread the resin out to the very edge using your stir stick. Use your torch in a sweeping motion to remove any bubbles. Cover & let cure for another 24 to 72 hours. Enjoy!!
Art by: @MissMeggieArt
What People Are Saying
This is the best resin!!!! It's so easy to use! Nice and clear results! When mixed slowly for 5 minutes, most, if not all, bubbles will be gone! This product comes with detailed easy instructions and tips.
I have recommended this brand to many friends and members of resin groups and after using it, they are in love too!
If you're looking for a great resin! Get this!!! You won't be sorry!!!
- Kimberly N.
Casting & Coating Epoxy Resin
Commonly Used To Create With Resin
Visit Our Blog For Resin Project Inspiration
Want Free Stuff?
Join our email list to be notified of new project guides, special offers, free products and more!
Sign up now and receive a free Aqua glow powder sample!
Want to share your art with us?
Follow and tag us in your work to be featured on our pages!


