Charcuterie Customization with Epoxy Resin
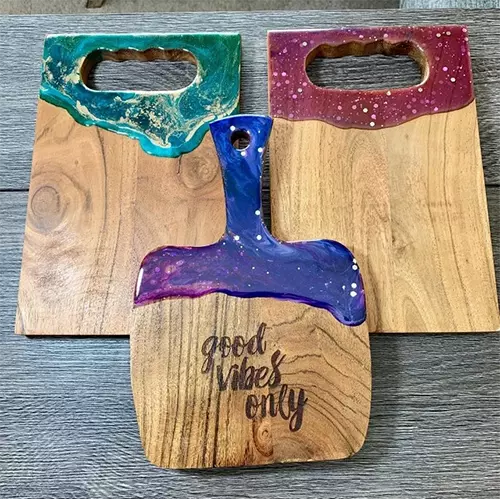
A resin cutting board is a way to show both your creativity and practicality in the kitchen. Not only does it serve as an excellent surface for chopping, slicing, dicing and more; but you can also decorate them with colorful resin. Resin coated charcuterie boards are perfect if you have plans on entertaining any time soon. Learn how to make one today so that when company arrives tomorrow night (or whenever), you'll be all set up!
On this page, we'll show you how to do just that using epoxy resin.

Can I Decorate Wood Boards with Resin?
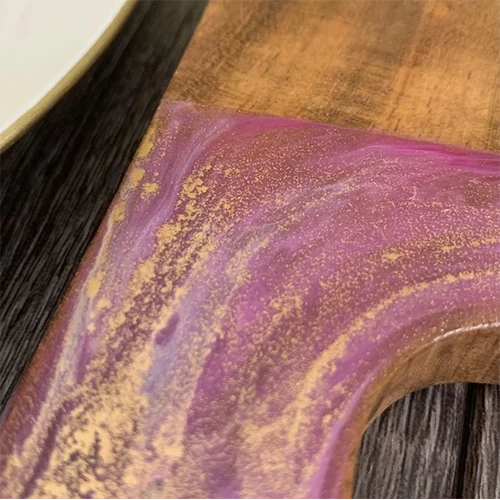
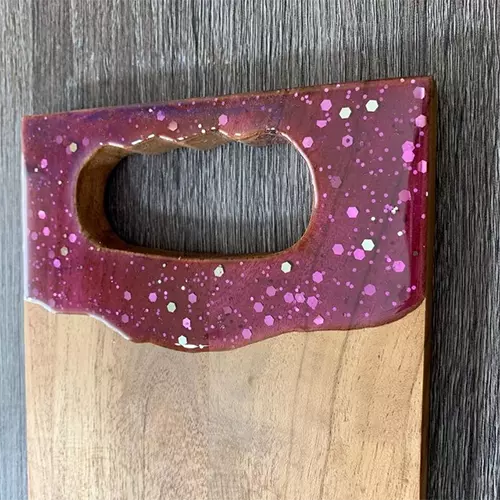
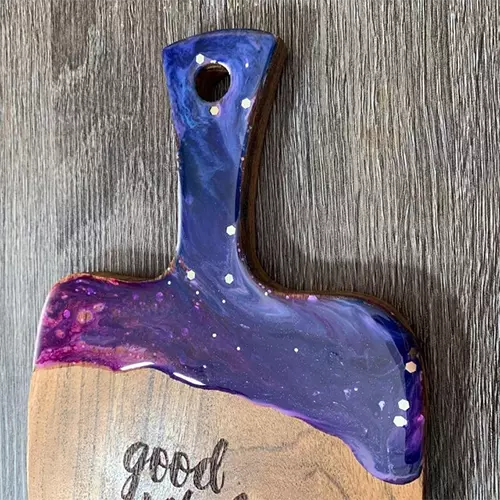
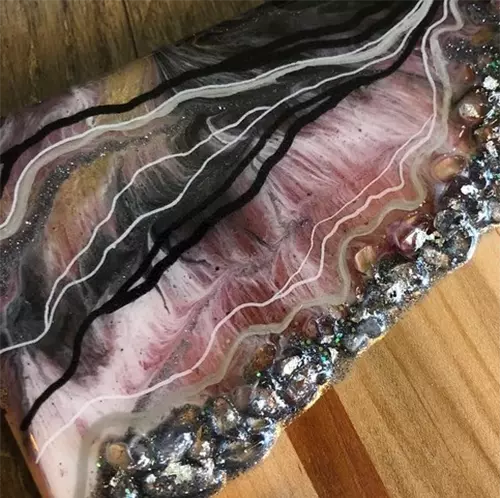
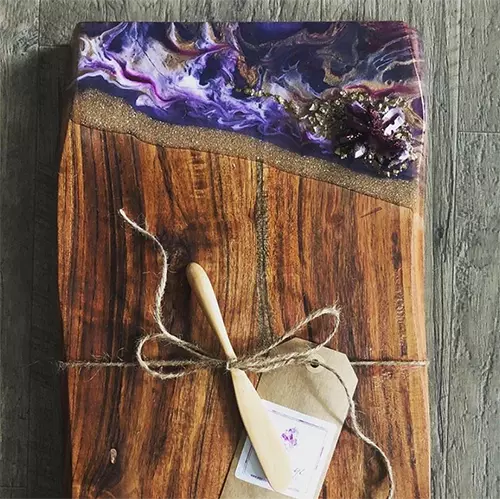
If you're looking to take your charcuterie presentation or cutting board to the next level, consider incorporating food-safe resin. Resin allows you to encapsulate various decorative elements, adding a touch of uniqueness to your board. In this guide, we'll introduce you to the exciting world of decorating a charcuterie board with food-safe Art 'N Glow epoxy resin, exploring the materials, and techniques.
Food-safe resin is a specialized type of resin that is formulated to be non-toxic and safe for contact with food items. It provides a glossy, glass-like finish and acts as a protective barrier for your charcuterie board or cutting board, sealing and preserving the decorative elements underneath. When using food-safe resin, it is still important to follow resin guidelines to ensure the safety of your guests.
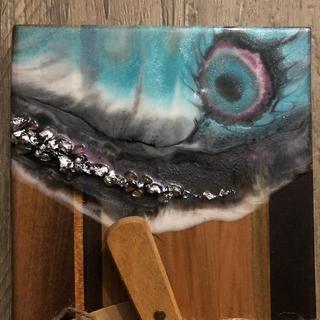
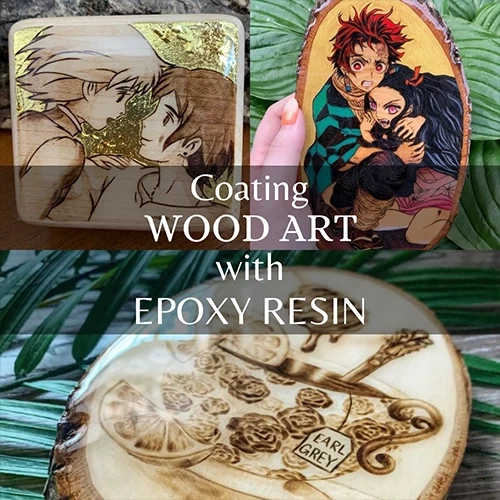
Art by: @latsyrca
DIY Project: Decorate a Wood Board with Resin
Materials
-
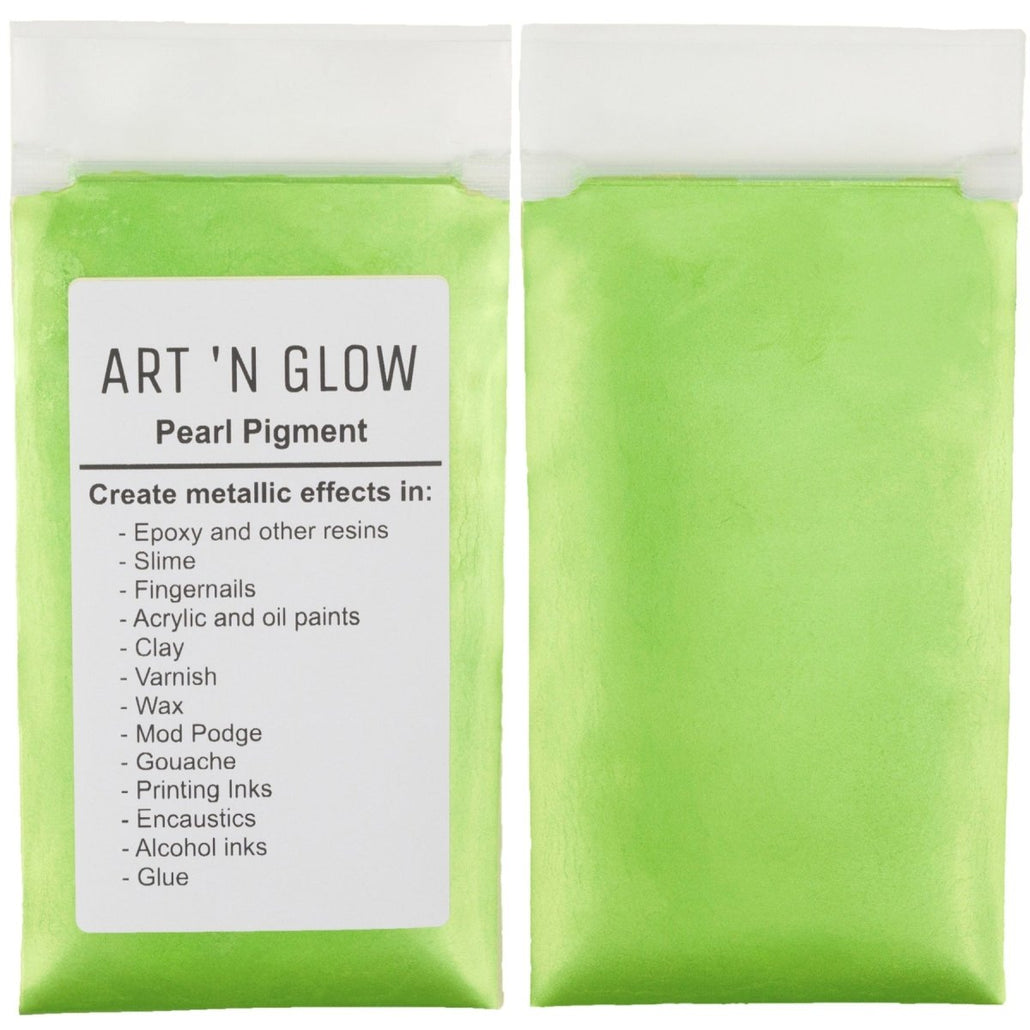
Art 'N Glow Pearl Pigments (or pigments of your choice)
-
Wood Board
-
Plastic Mixing Cups
-
Mixing Sticks
-
Gloves
-
Plastic Sheeting or Silicone Mat
-
Small Plastic Cups or Painter's Pyramids
Step-By-Step Instructions
Prepare your workspace. When using epoxy resin, ensure your workspace is well-ventilated. You also want to pick a space that is relatively clean and has very little dust, as these particles can find their way into your resin during the curing process.
The temperature of your workspace should be mild to warm. Aim for between 72°F-85°F (closer to 78°F is ideal). Wipe down surfaces and lay down a protective covering over the table or floor. A plastic drop cloth, large garbage bag, silicone mat or cardboard are great options for protecting your work surface.
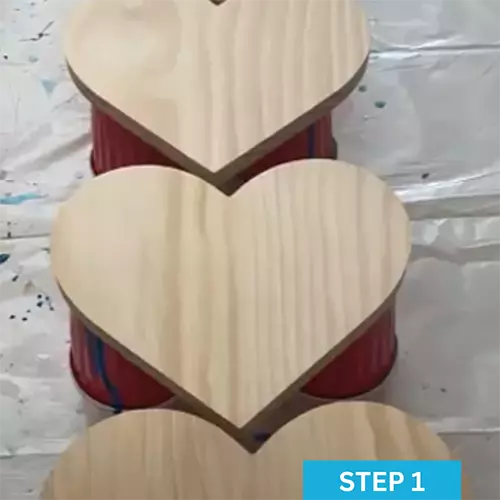
Step 1: Set up your wood board on your work surface. We recommend placing your wood board on top of plastic cups so the resin can flow over the sides.
Pro Tip: Use a level to make sure your surface is level before you get started. You want to be able to control where you resin is flowing for this project.
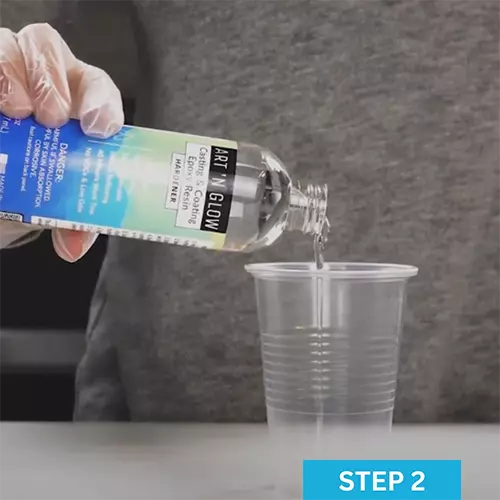
Step 2: Measure and mix resin. When you are ready to mix, measure your resin and hardener in equal parts by volume in two separate cups. Next, pour those cups into a third cup for mixing. Do not pour the mixture from high above the measuring cup as this can result in the formation of microbubbles. Mix the resin and hardener thoroughly, scraping both the sides and the bottom as you stir. Mix for 3-5 minutes, or until there is no ‘streaking’ in the resin.
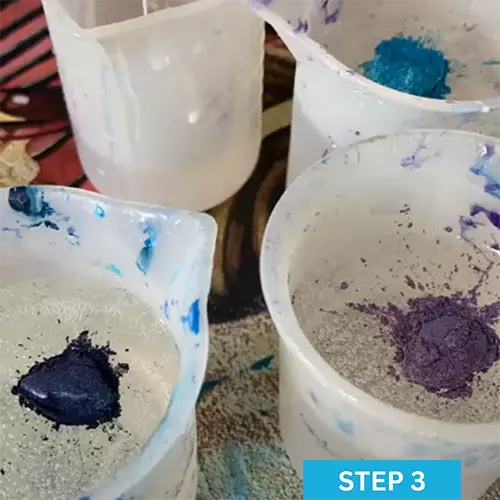
Step 3: Prepare your resin and pigments. Divide the mixed resin into several cups (depending on how many colors of pigments you are wanting to use for your project). Add pigments to each of the cups and mix thoroughly.
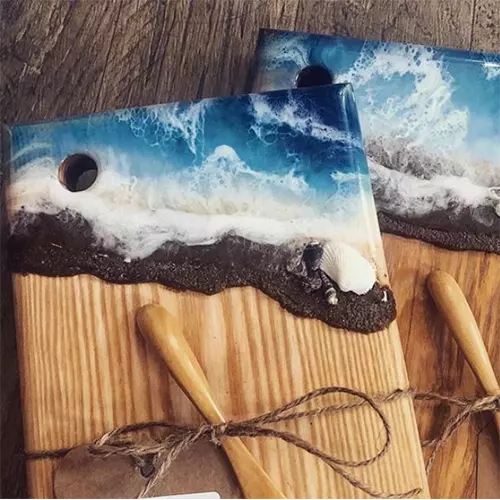
Optional: If you want to create an ocean look, you will want three different shades of blue for the ocean and white pigmented resin to create the waves. You can add sand and shells to your piece if you would like. To do this, pour clear resin on the edge of your wood and add sand and shells until you get your desired look. Use a heat gun to blow the resin to create your waves. Blow the white towards the blue pigmented resin and watch ocean waves come to life! Start with one line and once you get the look you desire, move to the next white line.
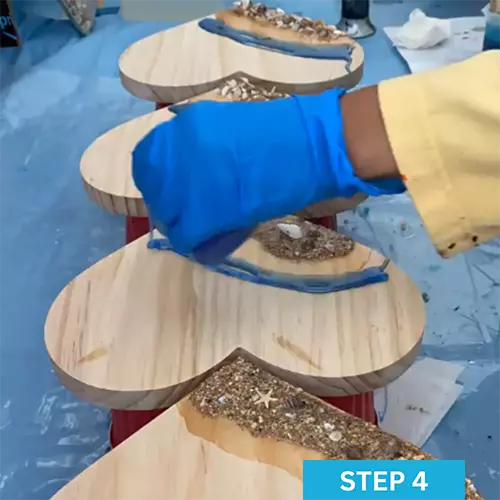
Step 4: Apply resin. Pour each one of your pigmented resins one at a time starting at the edge of your board. Spread the poured resin over the surface with your mixing stick or gloved hand until the desired portion of wood is covered in resin.
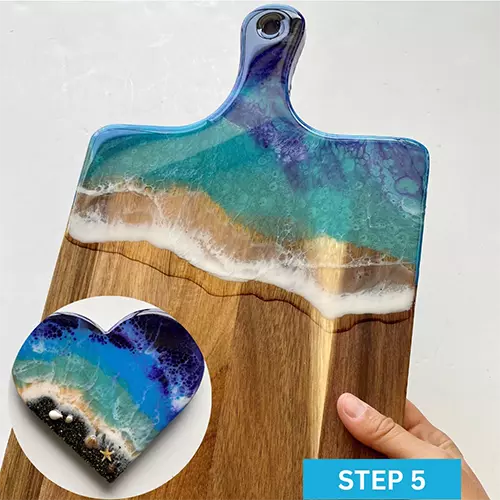
Step 5: Cover and cure. If possible, cover your work with box for 24 hours to prevent dust from getting on your project. Let cure for a total of 48-72 hours. Show off your finished board!
Art by: @dharma.stonecreative
What People Are Saying
Art 'N Glow resin is so easy.... easy to measure, very easy to mix and not even slightly stinky or smelly. Less bubbles than I’ve noticed when using other resins, it’s a US company with *outstanding* customer service AND.... for other art type resins, it’s more affordable without compromising quality! I’ve used it to both cover existing pieces as well as creating resin art- excellent! Also worked sooo beautifully when using to cast. Can’t say enough- I’m A *huge* fan!!!
- Pia
Casting & Coating Epoxy Resin
Commonly Used To Create With Resin
Pearl Pigments
Make your projects stand out! Add a metallic effect that will bring depth and a reflective nature to your masterpiece. This high-quality, pearlescent pigment can be used in projects such as marble effects, resin/epoxy casting, paintings, murals, DIY slime, jewelry making, wax, etc. We are a locally-owned, small business and will gladly answer any application questions regarding our products. With our 30-day, 100% money-back guarantee, you can be confident that we care about making sure that our product meets your needs.
9 LED UV FLASHLIGHT
Our 9 LED ultraviolet flashlight will get you glowing in no time. From paintings to powders to glass, this light has you covered.
-
Includes three AAA batteries
-
395nm wavelength is ideal for charging all of our glow in the dark products in seconds
-
Aluminum construction with an on/off tail switch
-
Can also be used to find stains around the house
Visit Our Blog For Project Inspiration
Want Free Stuff?
Join our email list to be notified of new project guides, special offers, free products and more!
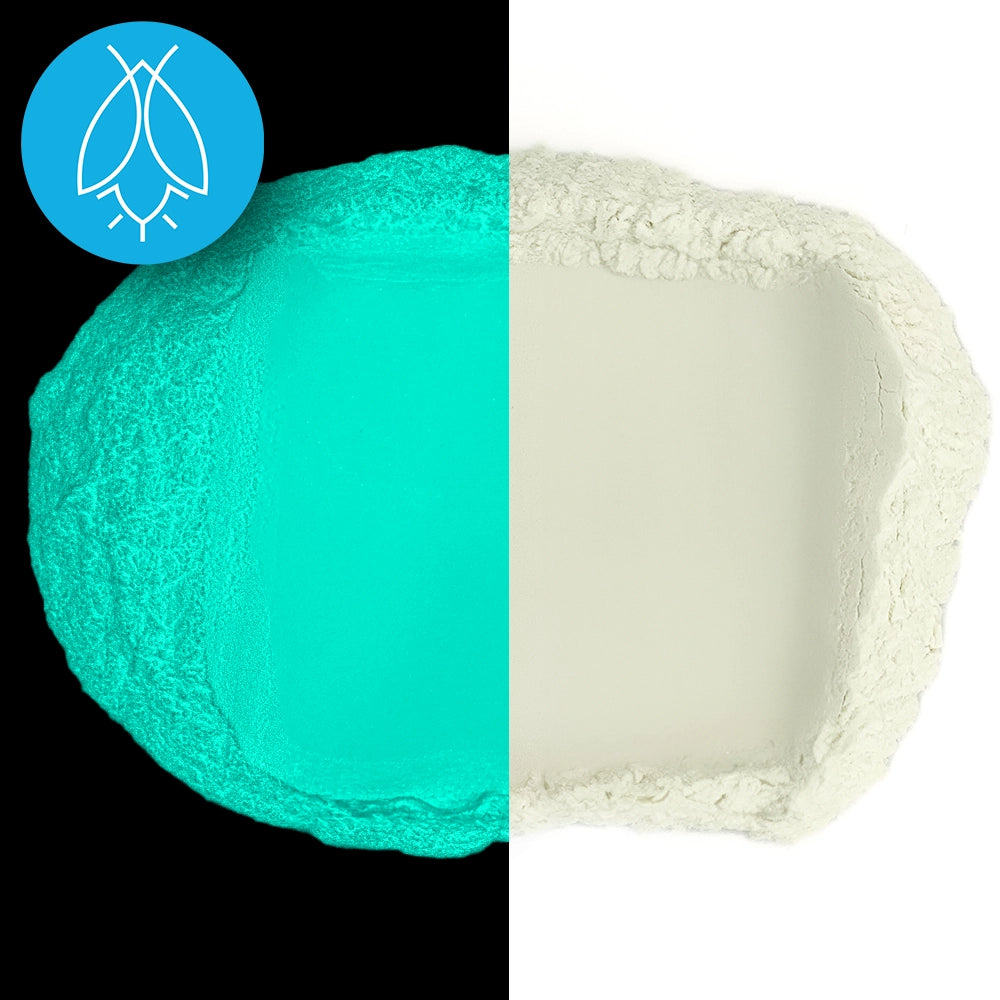
Sign up now and receive a free Aqua glow powder sample!
Want to share your art with us?
Follow and tag us in your work to be featured on our pages!


