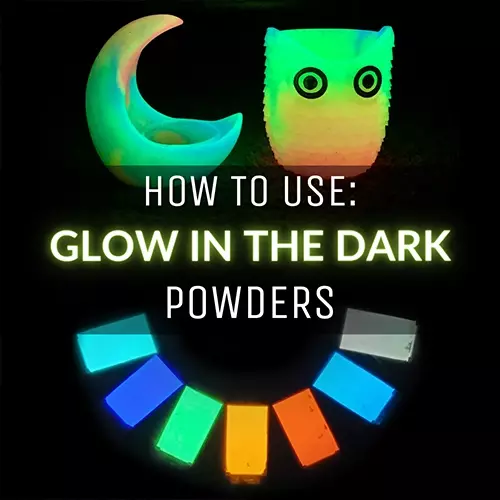
Create Glow In The Dark Jewelry
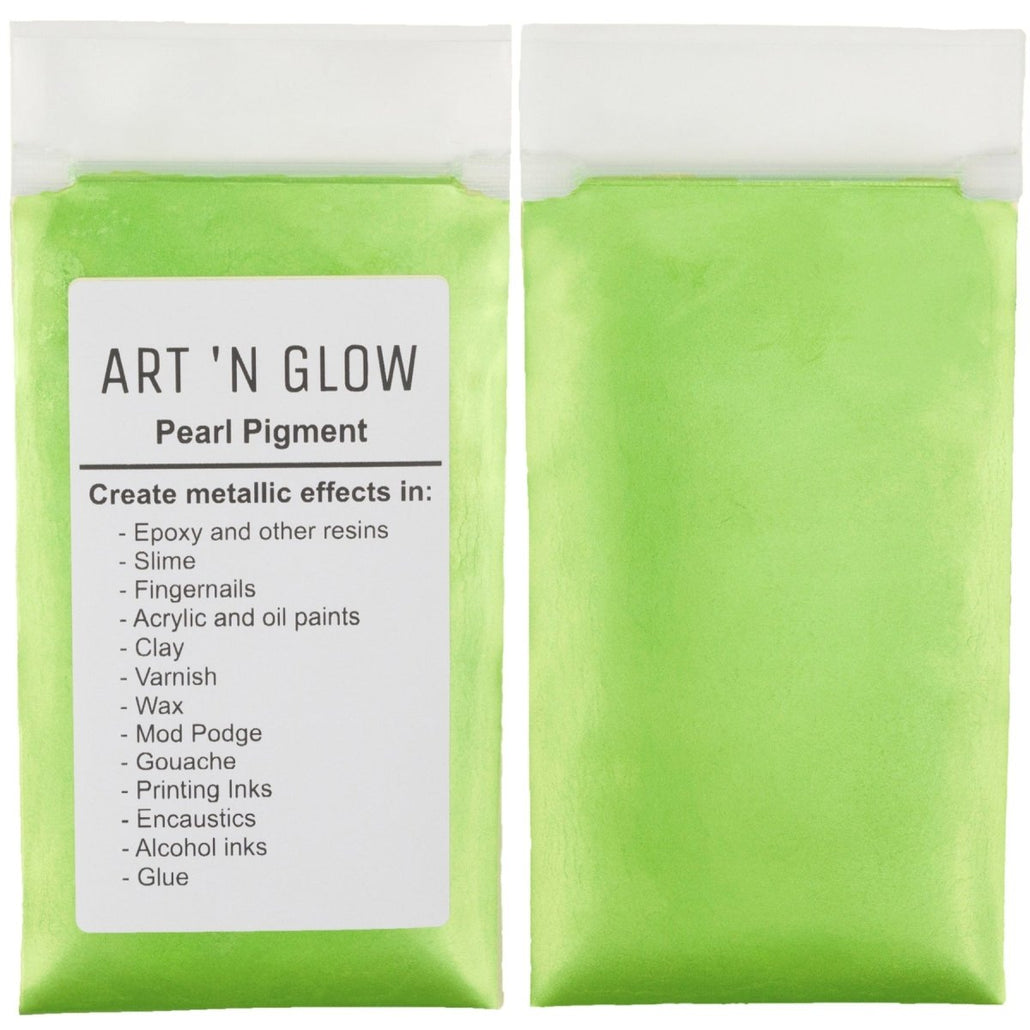
Light up your next project using Art 'N Glow Glow Powders! Our glow in the dark powders can be used to create with epoxy resin, paint, wax, crafting glue, and much more. Today, we're going to show you how to use glow powders and epoxy resin to create one-of-a-kind jewelry pieces!
-
Learn all about making glow in the dark jewelry
-
Be inspired by videos, images, and tips from real people who are familiar with the ins and outs of creating glowing pendants and other jewelry pieces
What Is Glow In The Dark Jewelry?
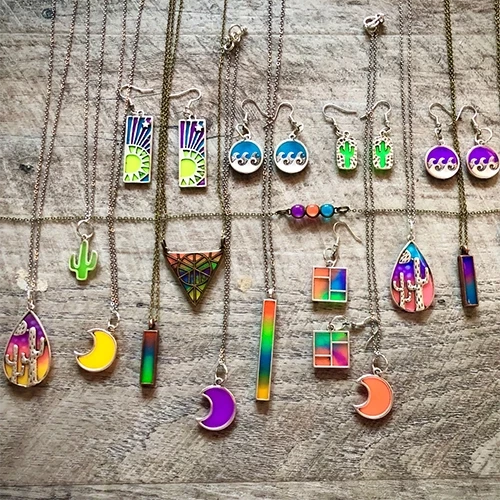
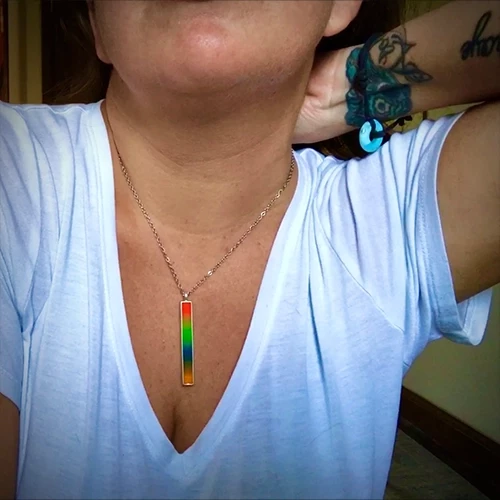
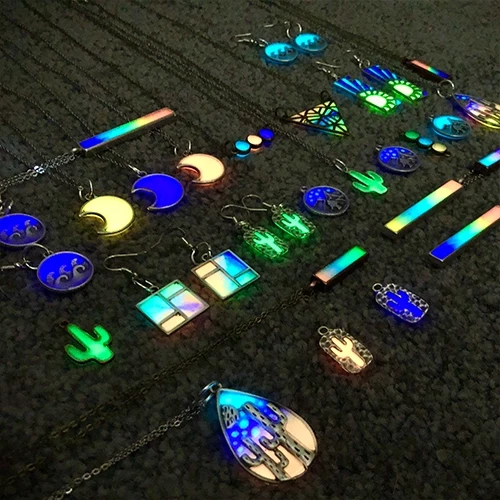
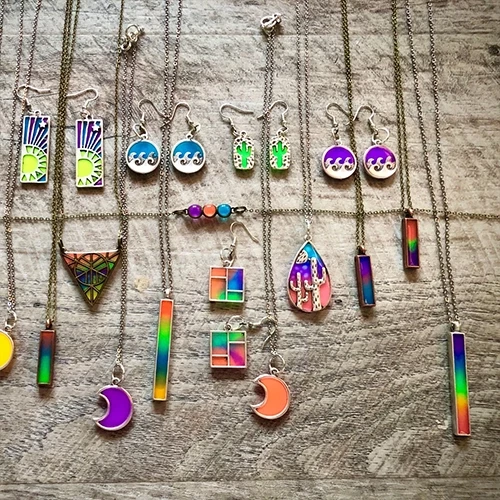
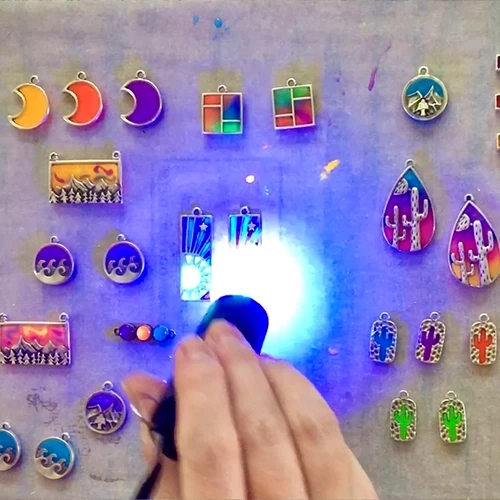
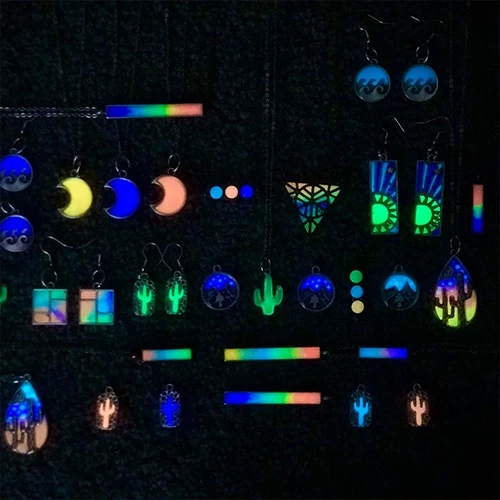
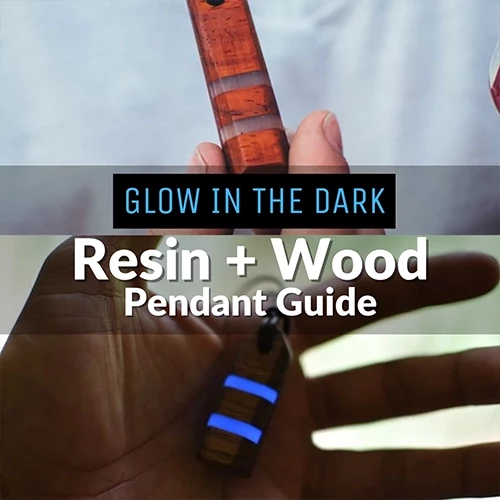
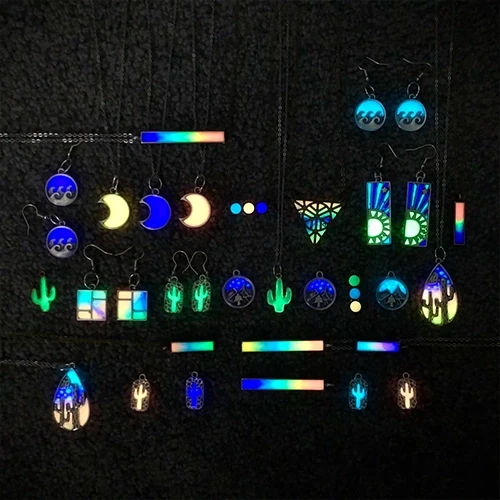
Making glow in the dark jewelry is a fun project get started working with our glow powders and epoxy resin. You will light up the night with your glowing jewelry, which will shine brightly in the dark after being charged with sunlight or UV light. It also looks really cool under a blacklight! With a simple pendant mold, you can easily learn the basics of resin casting and working with glow powders, and you will create a beautiful piece of jewelry as a result. Continue reading to learn how to create your own glow in the dark jewelry, like the ones in these pictures!
Art by: Megan Hogeman
DIY Project: How To Make Glow In The Dark Jewelry
Materials
-
Art 'N Glow Glow Paint (optional)
-
Cups for measuring and mixing
-
Stirring utensil (i.e. popsicle sticks)
-
Open Bezel Charms
-
Resin Tape
-
Non-Stick Working Surface
-
Gloves
-
Jewelry Chains, Clasps, Jump Rings, or any Jewelry Findings you need for your piece
-
Needle Nose Pliers
-
Exacto Knife
-
Project Cover
-
Digital Scale (optional)
Step-By-Step Instructions
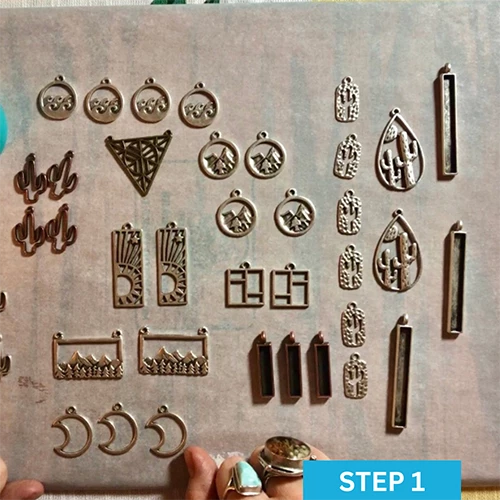
Step 1: Prepare your workspace. Get out all of your jewelry findings, Art ‘N Glow Resin, resin tape & resin work essentials. Prepare a flat resin resistant surface to work on. Using a wood plank with parchment paper wrapped around it works great!
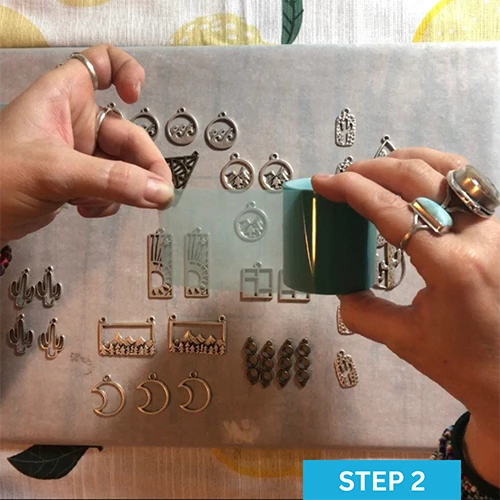
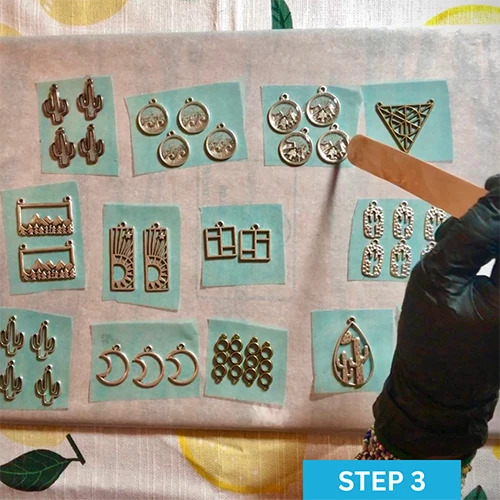
Step 2: Prepare your bezels. Using your resin tape, cut about 2”-3” pieces and push your jewelry bezels firmly onto the sticky side of the tape, ensuring that it is completely sealed.
Step 3: Prepare your resin. Measure equal parts resin and hardener (by volume) in separate cups. Tip: Pour your material down the side of the cup to avoid adding unnecessary air bubbles. Combine the resin and hardener into a single cup for mixing. For example, you can pour the hardener into the resin cup, or vice versa. Mix the resin and hardener slowly, but thoroughly, scraping both the sides and the bottom as you stir. Mix for 3-5 minutes, or until the epoxy mixture is clear of streaks. After mixing thoroughly, apply a coat of resin to the inside of the bezels to fill them in and create a dome coat on top if desired. Carefully torch out any bubbles that have risen. Cover and let cure for at least 24 hrs.
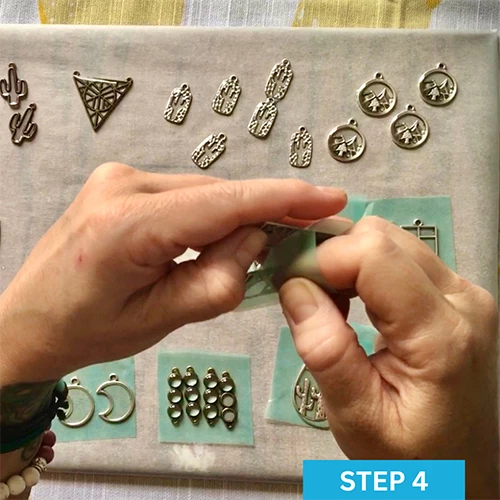
Step 4: Time to peel off the resin tape. Slowly peel the tape off the backs on your jewelry. Doing it slowly will help prevent the sticky part of the tape from releasing onto your jewelry. If that happens, you can clean it up with some isopropyl alcohol and a paper towel.
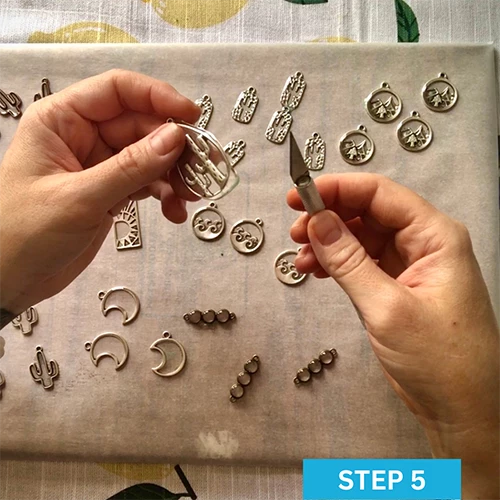
Step 5: Clean up any parts where resin has seeped out or ran over the top. It will inevitably happen! Hit it with your heat gun to make the resin a little soft & carefully cut away the spill over with an Exacto knife.
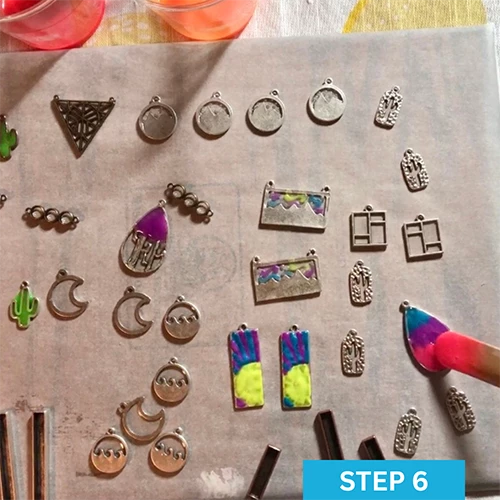
Step 6: Time to start adding some glow! On your digital scale, measure 7 grams of glow powder for each fluid ounce of epoxy resin that you will use. If you don't have a scale available, you can estimate! There is room for experimentation using more or less glow powder, this is just the ratio we typically recommend to achieve the optimal glowing effect. Flip over your prepared pieces. Come up with a plan of glow action before mixing your resin. When you have all of your glow paints & pigment powders ready, time to get creative! Either paint on your jewelry or carefully apply the glow infused resin to the backs of your jewelry pieces. Use your torch in a sweeping motion 6-8 inches above your pieces to remove any bubbles. Cover & let cure for at least 24 hrs.
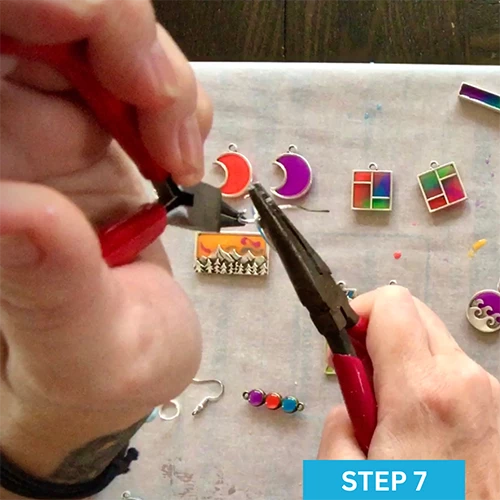
Step 7: Now it is time to assemble your jewelry. Using all of your jewelry findings, assemble each piece and watch them come to life!
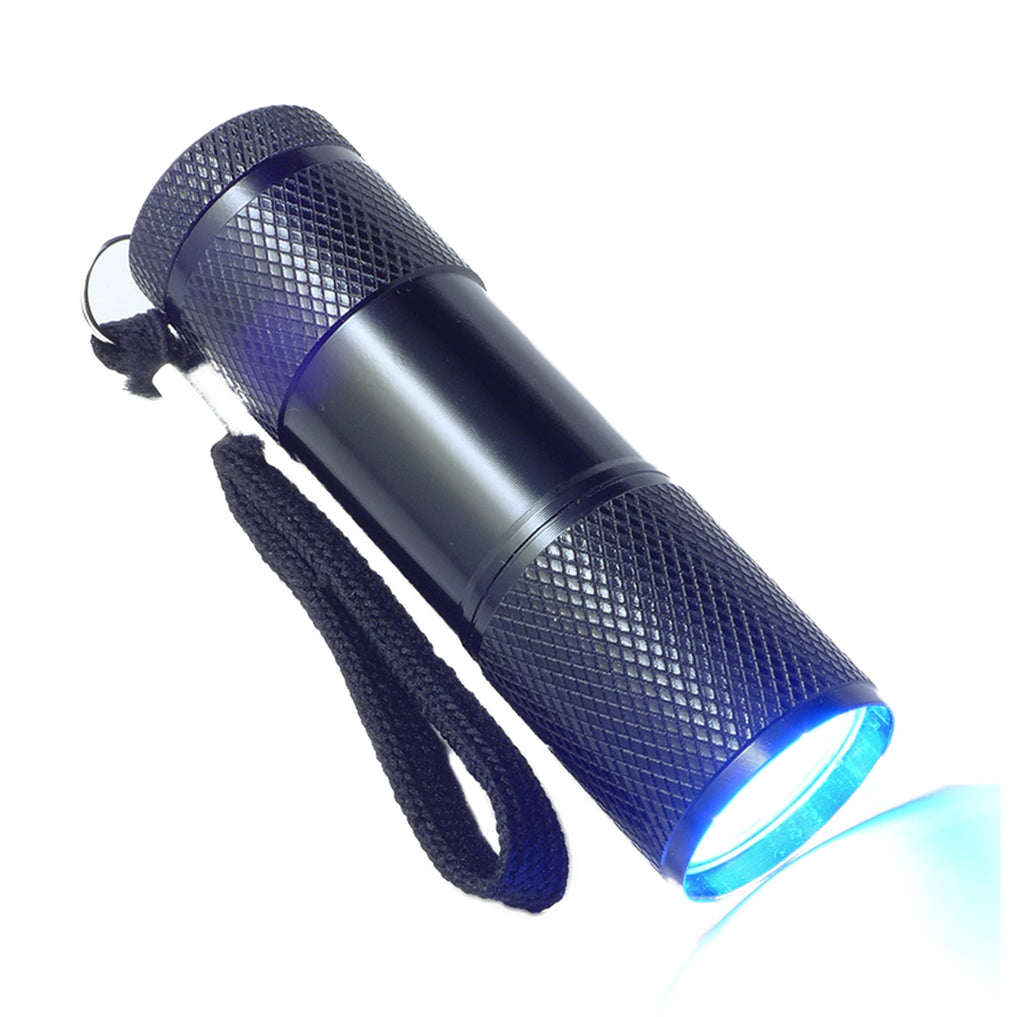
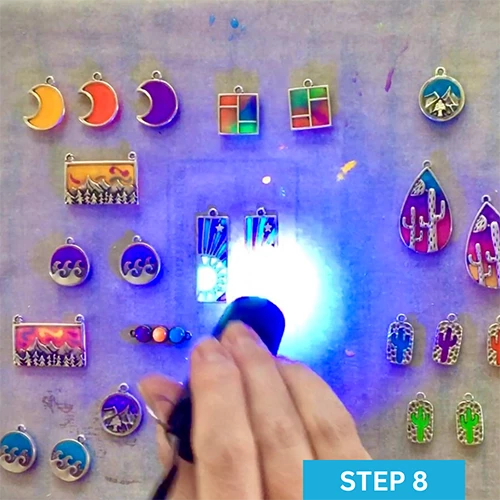
Step 8: Charge your jewelry. To charge your glowing resin, take it out into the sunlight for a few minutes, or charge it with a UV light, and then bring it into a dark room to see it glow brightly! Try on your pieces and go admire them in a dark room!
There you have it! Your very own Art ‘N Glow Glow in the Dark Jewelry, made by YOU!
Art by: Megan Hogeman
What People Are Saying
I LOVE the Glow Powder - I purchased a few different shades and will definitely be back for more. It’s currently finding good use in my resin jewelry & inlaid sign work...I was head over heels happy when I found the Art ‘N Glow product to try with my resin work and it has not disappointed!
- Jennifer G.
Commonly Used To Create With Glow Powder
Visit Our Blog For Project Inspiration
Want Free Stuff?
Join our email list to be notified of new project guides, special offers, free products and more!
Sign up now and receive a free Aqua glow powder sample!


