Easy Resin Crafts for Beginners: Creating with Silicone Molds

Have you seen all the amazing projects people are making with resin? Thinking about giving resin a try yourself? There are many ways to create with resin including coating tabletops and art canvases with resin, customizing tumblers, casting in silicone molds to make things like jewelry, dishes, coasters, trays and you can encase almost anything you can imagine in resin from flowers to pictures! We have some great beginner resin casting projects, with all the steps and list of materials you need to get started!
Create a Resin Dish
Materials Needed:
- Art 'N Glow Clear Casting & Coating Epoxy Resin
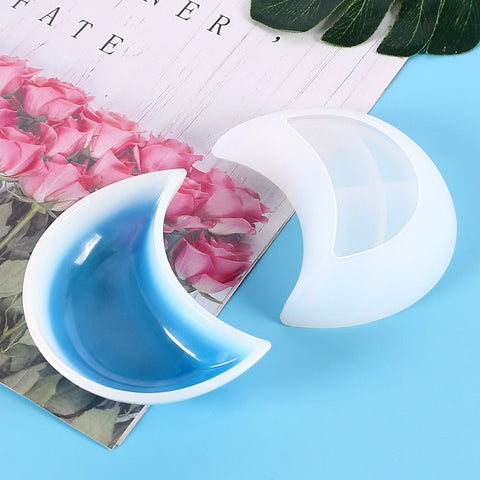
- Silicone mold of your choice: we used Dish Silicone Mold
- Pigment or Glitter of your choice: we used Art 'N Glow Sapphire Blue Pearl Pigment
- Heat Gun
- Plastic Mixing Cups
- Mixing Sticks
- Gloves
- Plastic Sheeting or Silicone Mat
Prepare your Workspace
When using epoxy resin, ensure your workspace is well-ventilated. You also want to pick a space that is relatively clean and has very little dust, as these particles can find their way into your resin during the curing process.
The temperature of your workspace should be mild to warm. Aim for between 72°F-85°F (closer to 78°F is ideal). Wipe down surfaces and lay down a protective covering over the table or floor. A plastic drop cloth, large garbage bag, silicone mat or cardboard are great options for protecting your work surface.
Make sure mold is clean and dry. Put on gloves to protect skin before starting to work with the resin.
Mixing Resin
Before you mix your resin, determine how much you will need for your project. If you are making a crescent dish with us, this project required approximately 1.3 fluid ounces, so a 16 oz kit is perfect to make a few dishes!

When you are ready to mix, measure your resin and hardener in equal parts by volume in two separate cups.
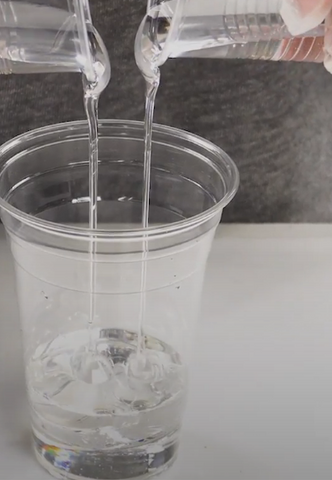
Next, pour those cups into a third cup for mixing. Do not pour the mixture from high above the measuring cup as this can result in the formation of microbubbles. Mix the resin and hardener thoroughly, scraping both the sides and the bottom as you stir. Mix for 3-5 minutes, or until there is no ‘streaking’ in the resin.
Check out our Resin Guide for more tips!
Create Your Dish
Step 1: Mix either the glitter or pigment of your choice into the mixed resin and hardener. If using Art 'N Glow Pearl Pigments, a little bit goes a long way! For this project we would recommend using around 1 gram of pearl powder (about 1/2 to 1 teaspoon).
Pro Tip: When adding color to resin you will want to make sure you use pigments that do not contain water as this can hinder the resin's ability to cure. Also, it is recommended to read the instructions of the resin colorant you are using to make sure you are using the recommended amount for your project. Click HERE for recommendations for Art 'N Glow pigment use.

Step 2: Pour the resin mixture into your mold. Sometimes small bubbles will appear when you first pour your resin into a mold. You can help remove those bubbles by using a heat gun or torch to remove the bubbles. We recommend using your heat gun or torch in a sweeping motion about 6-12 inches from the surface of the resin to remove the bubbles that do appear and returning to your piece periodically for the first one to two hours to remove any bubbles that rise to the surface.
Step 3: Cover and wait at least 24 hours to demold. You can also wait to demold closer to 72 hours, when your project will be fully cured.

Step 4: Remove your dish from the mold and show off your amazing resin piece! Create several of these dishes to create a fun design to store jewelry or serve snacks!

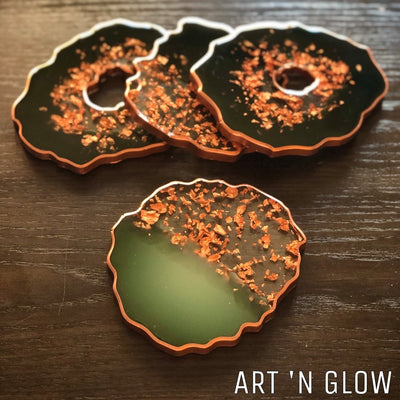
The great thing about creating castings with resin, is that the options of new unique creations are endless. Don't be afraid to experiment with different types of pigments. You can also add dried flowers, decals, gold leaf and almost anything you can think of to your resin castings. Want to try some other resin casting projects?

Check out some of our other silicone molds that you can use to create these projects:

Amount of resin needed for project: 10 fluid ounces

Amount of resin needed for project: 4.5 fluid ounces
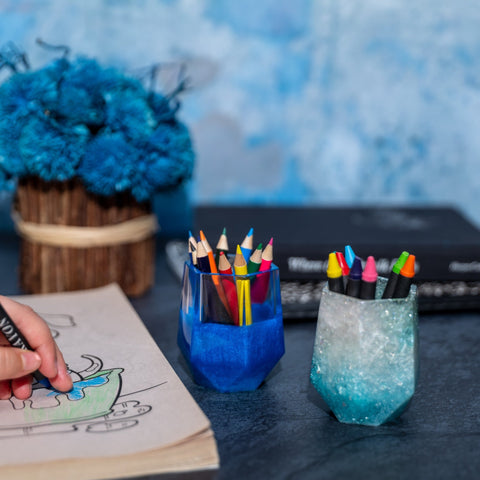
Amount of resin needed for project: 2.2 fluid ounces
If you have any questions as you are getting started, we are always an email away! Happy creating! info@artnglow.com


Leave a comment