How to Use Pearl Pigments in Epoxy Resin (+ Color Mixing Magic)
Pearl pigments are one of those craft supplies that live rent-free in your head the moment you see what they can do. That silky, iridescent shimmer — the way they shift between gold and copper, teal and violet, depending on how the light hits — is almost impossible to unsee. The good news? Getting that effect into your resin is easier than it looks, and once you understand a few simple rules, you'll be reaching for pearl pigments in just about every project.
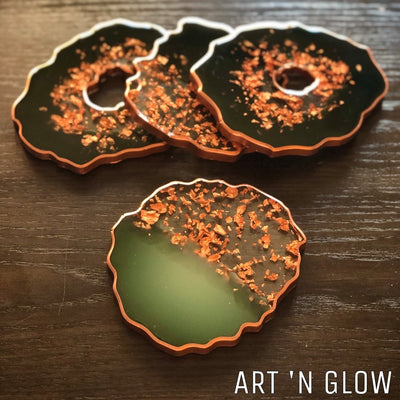
This guide walks you through exactly how to use Art 'N Glow pearl pigments in epoxy resin — from measuring and mixing to layering colors for real visual depth. Whether you're making jewelry, wall art, or decorative castings, these tips will make it happen.
What You'll Need
- Art 'N Glow Epoxy Resin
- Art 'N Glow Pearl Pigments (your choice of colors — more on that below)
- Silicone mixing cups
- Stir sticks or silicone spatulas
- Silicone mold or prepared surface
- Gloves, safety glasses, and ventilation — always
Optional but fun:
- Toothpick or fine-tip tool for detailed swirling
- Heat gun or butane torch (for popping surface bubbles)
- Glow-in-the-dark powder for extra shine
Step-by-Step: Mixing Pearl Pigments into Resin
Step 1: Mix Your Epoxy Resin First
Always combine your Part A and Part B epoxy resin components completely before adding any pigment. Follow the ratio and mixing time in your Art 'N Glow resin instructions — this step is non-negotiable. Undermixed resin won't cure properly, no matter how gorgeous the pigment looks going in.
Mix slowly and scrape the sides and bottom of your cup thoroughly. When your resin looks clear and streak-free, you're ready for the good part.
Step 2: Start with Less Pigment Than You Think You Need
A little pearl pigment goes a long, long way — genuinely. Start with a small pinch per ounce of mixed resin (roughly ¼ to ½ teaspoon for 2 oz of mixed resin). Stir thoroughly and evaluate the color before adding more. You can always deepen the shade, but you can't take pigment back out.
For more opaque, saturated coverage, work up gradually to about 1–2 teaspoons per ounce. For a soft shimmer effect that keeps the resin semi-translucent, stay on the lighter end.
Step 3: Stir Slow and Steady
Pearl pigments have a fine, silky texture that folds beautifully into resin — but they like a slow stir. Fast mixing introduces air bubbles and can scatter the pigment particles before they fully blend. Use long, deliberate strokes, folding the pigment in rather than whisking it around.
Keep stirring for at least 30 seconds after the pigment looks fully incorporated. That extra time makes a real difference in evenness and color consistency.
Step 4: Pour, Layer, or Swirl — Your Call
Once your pigmented resin is ready, it's time to pour. Here's where it gets fun:
- Single-color pour: Pour directly into your silicone mold for a clean, consistent shimmer all the way through.
- Layered depth: Mix two separate cups with different pearl pigment shades. Pour the first layer, let it get tacky (typically 4–6 hours depending on your resin), then pour the second on top for dimension you can actually see.
- Swirl or marble effect: Pour two or more colors side by side into your mold, then draw a toothpick or stir stick through them. Don't over-mix — 3 to 5 gentle swirls is all it takes.
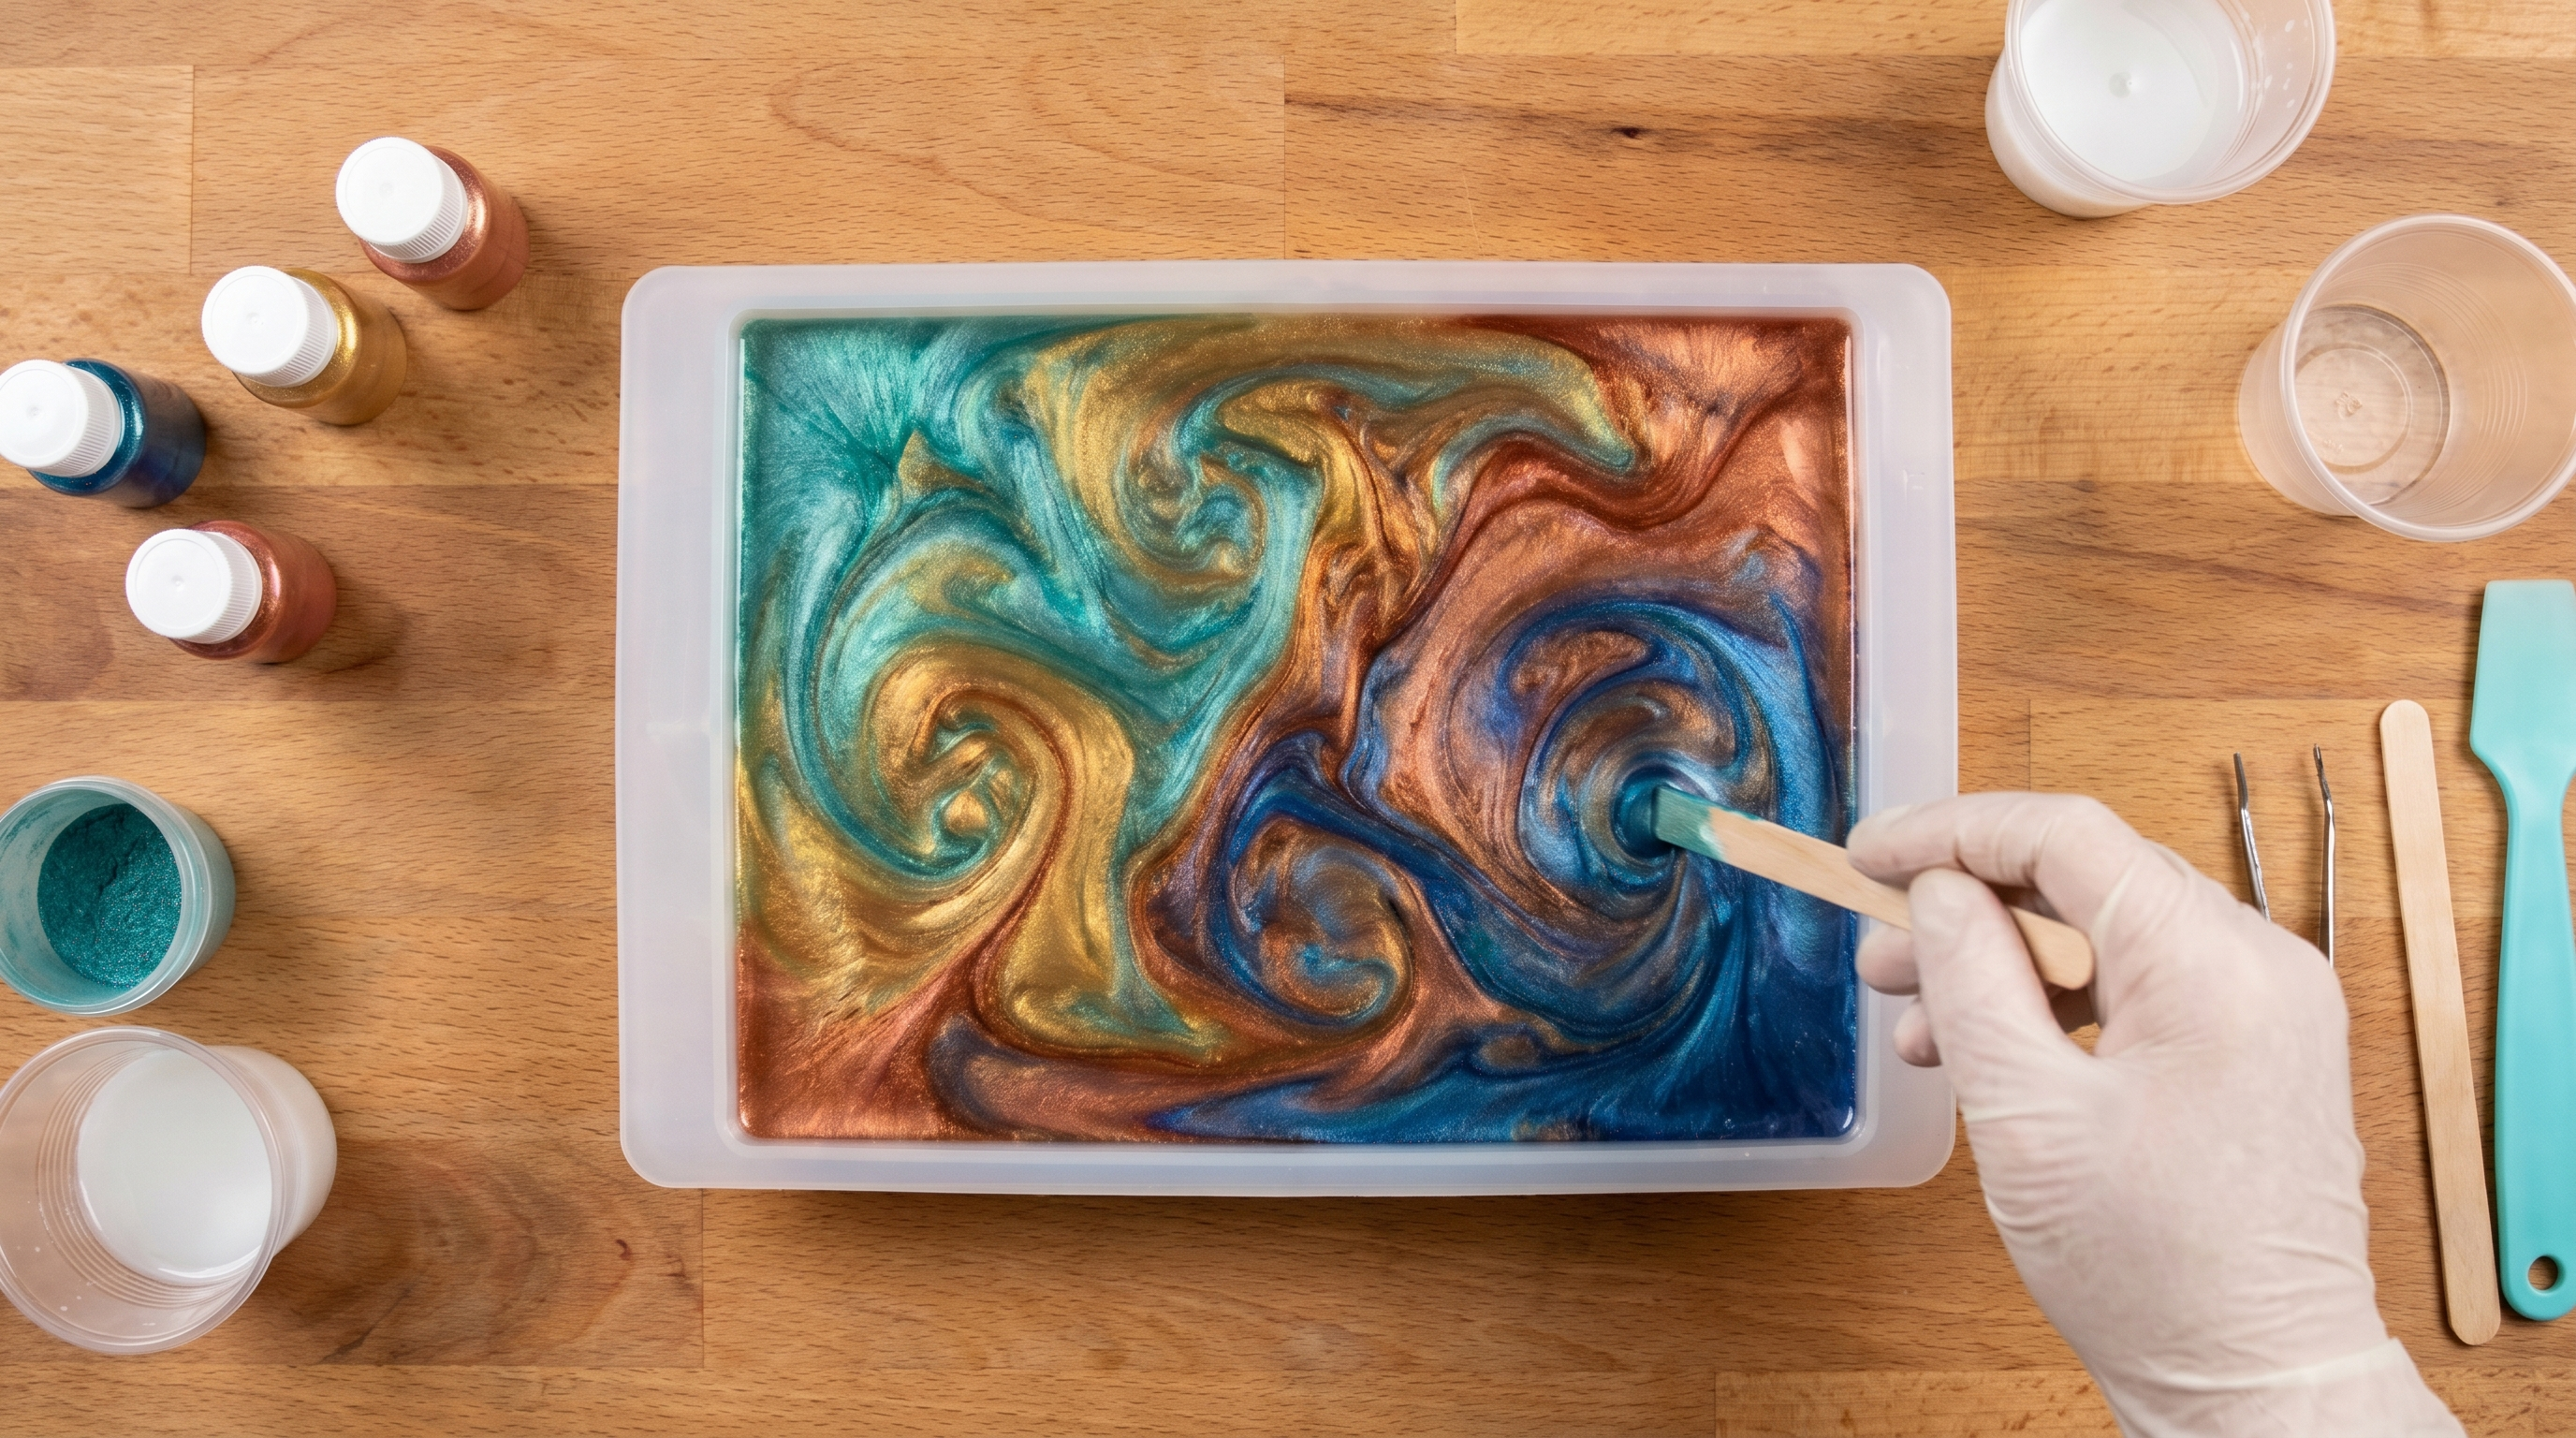
Step 5: Pop Those Bubbles
Pearl pigments can introduce a few extra bubbles into your pour. After pouring, give your piece a quick pass with a heat gun or butane torch held 6–8 inches above the surface. Keep the tool moving in a smooth sweep and don't hover in one spot — a second or two per area is enough. Bubbles vanish almost instantly.
Step 6: Cover and Cure
Tent your piece to keep dust off and let it cure undisturbed according to your Art 'N Glow Epoxy Resin instructions. We know it's tempting to check on it — trust the process.
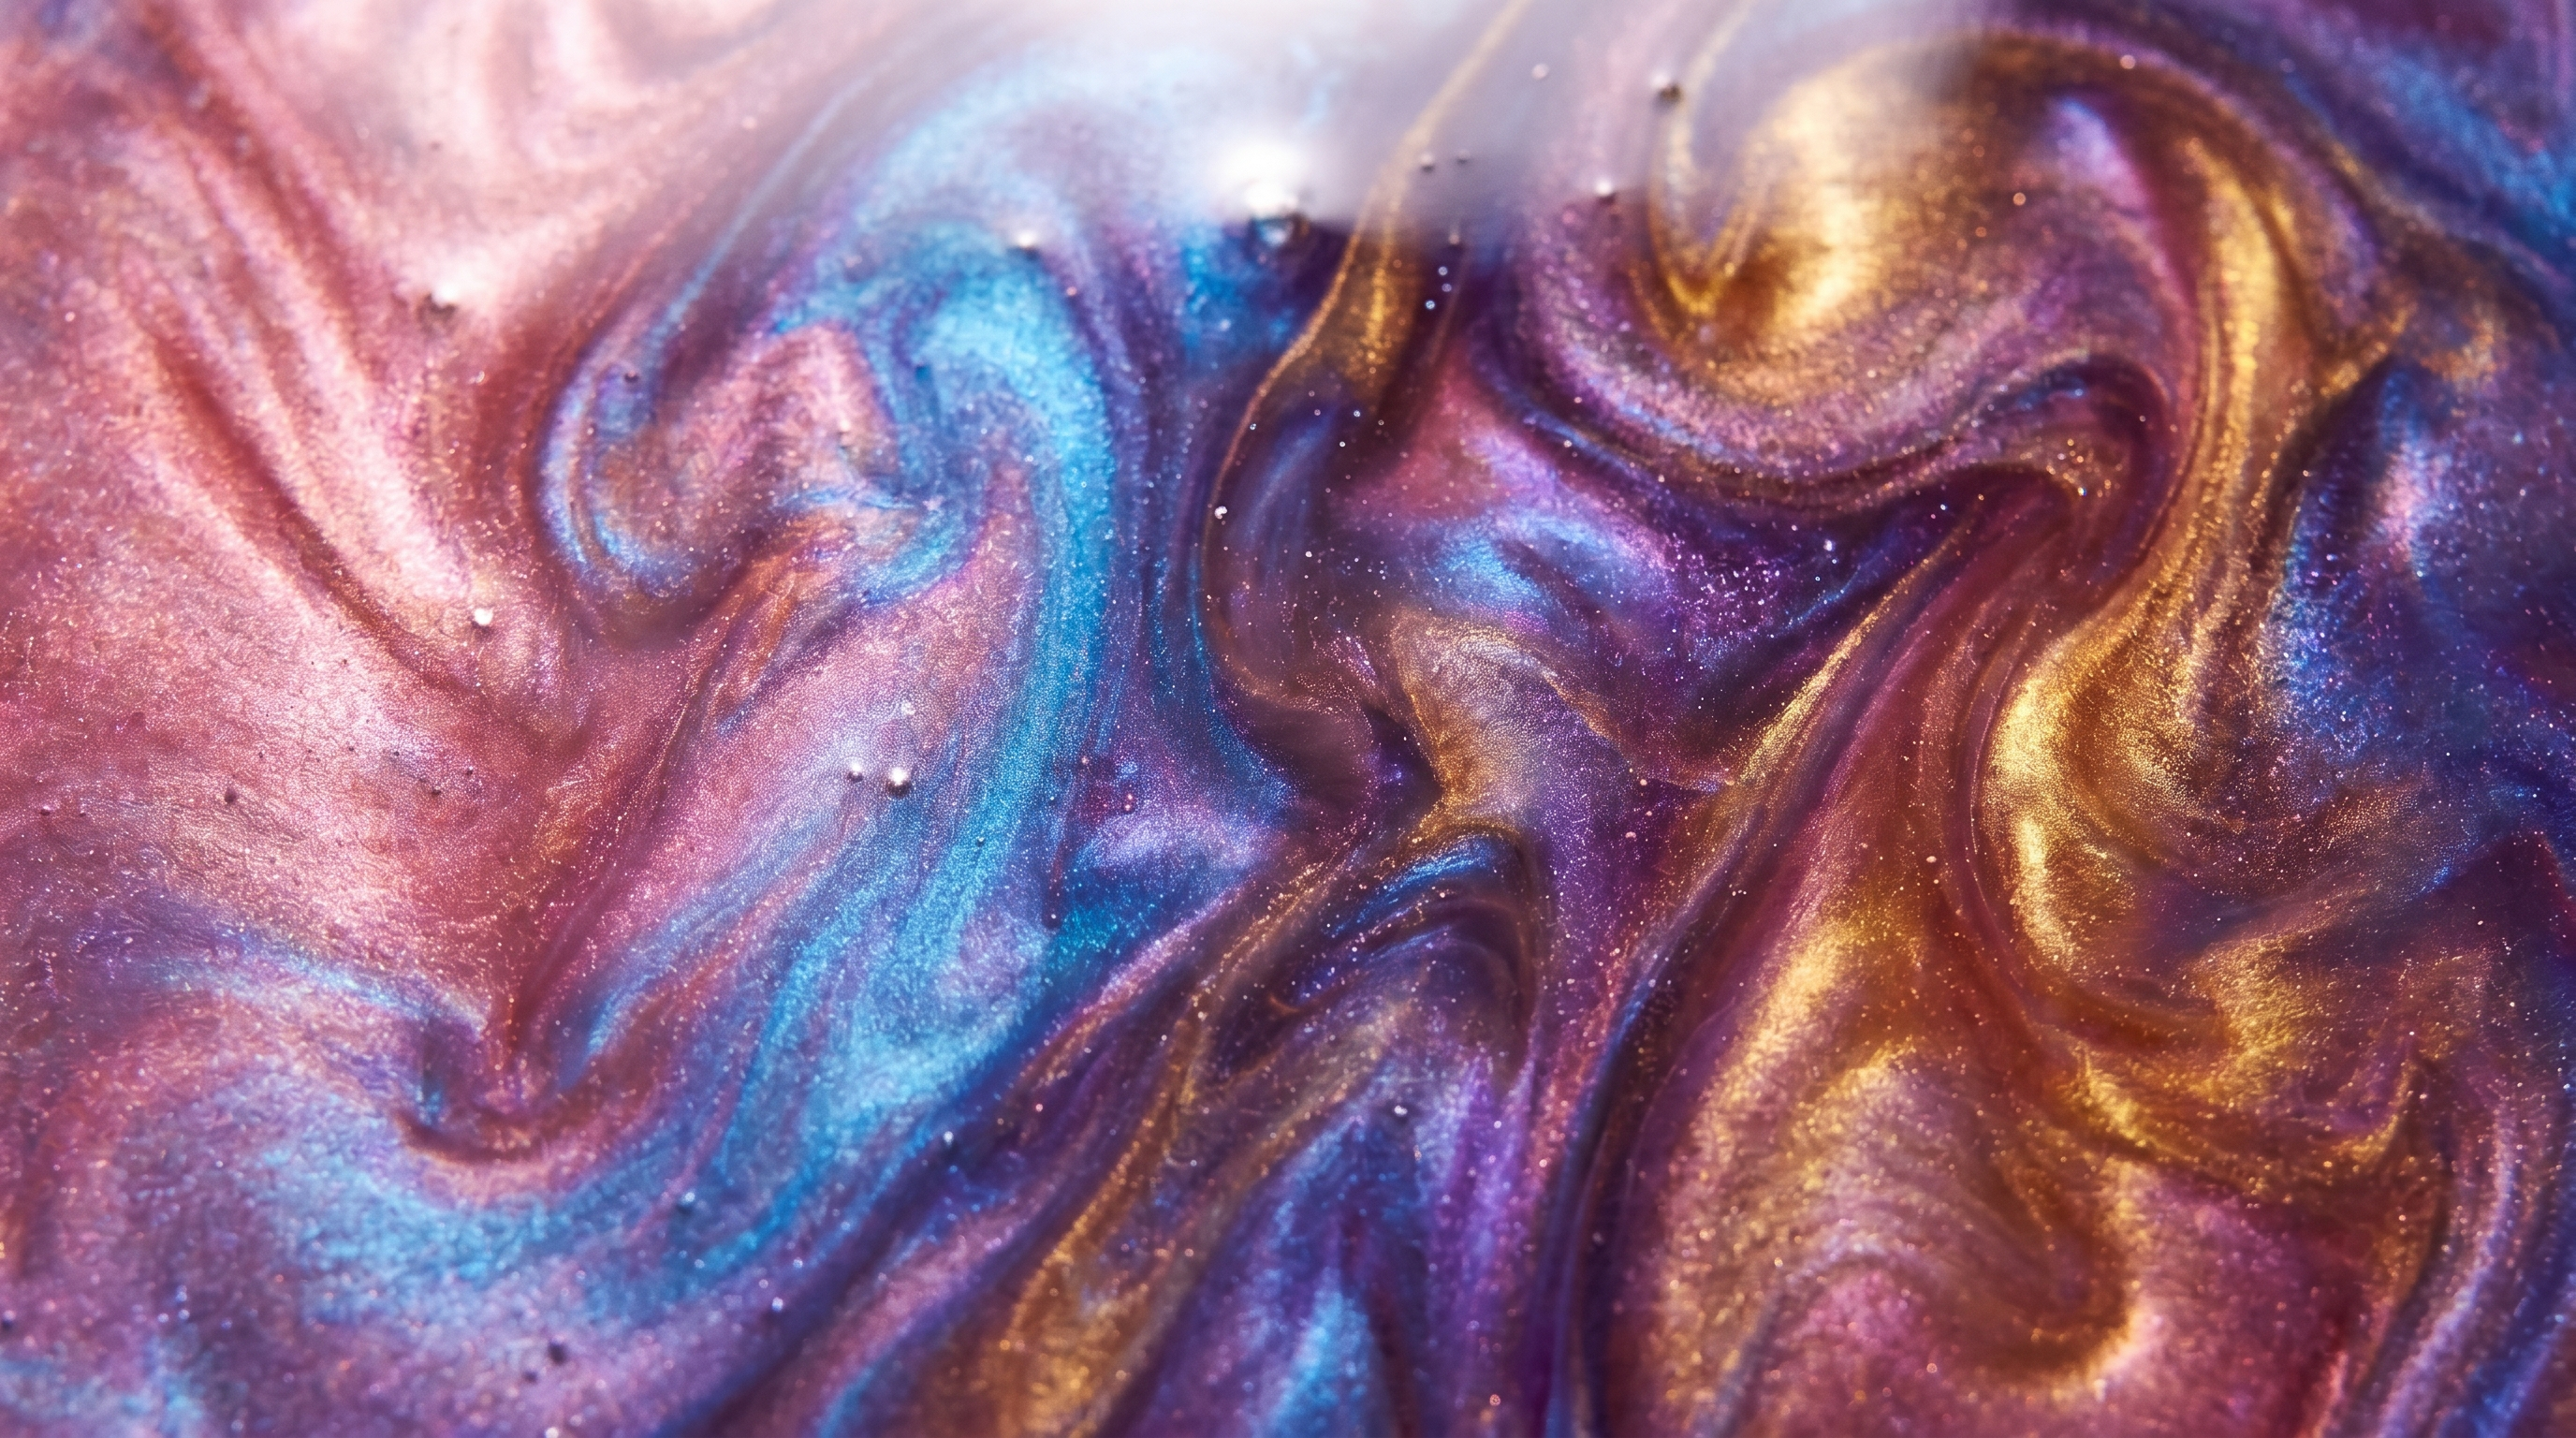
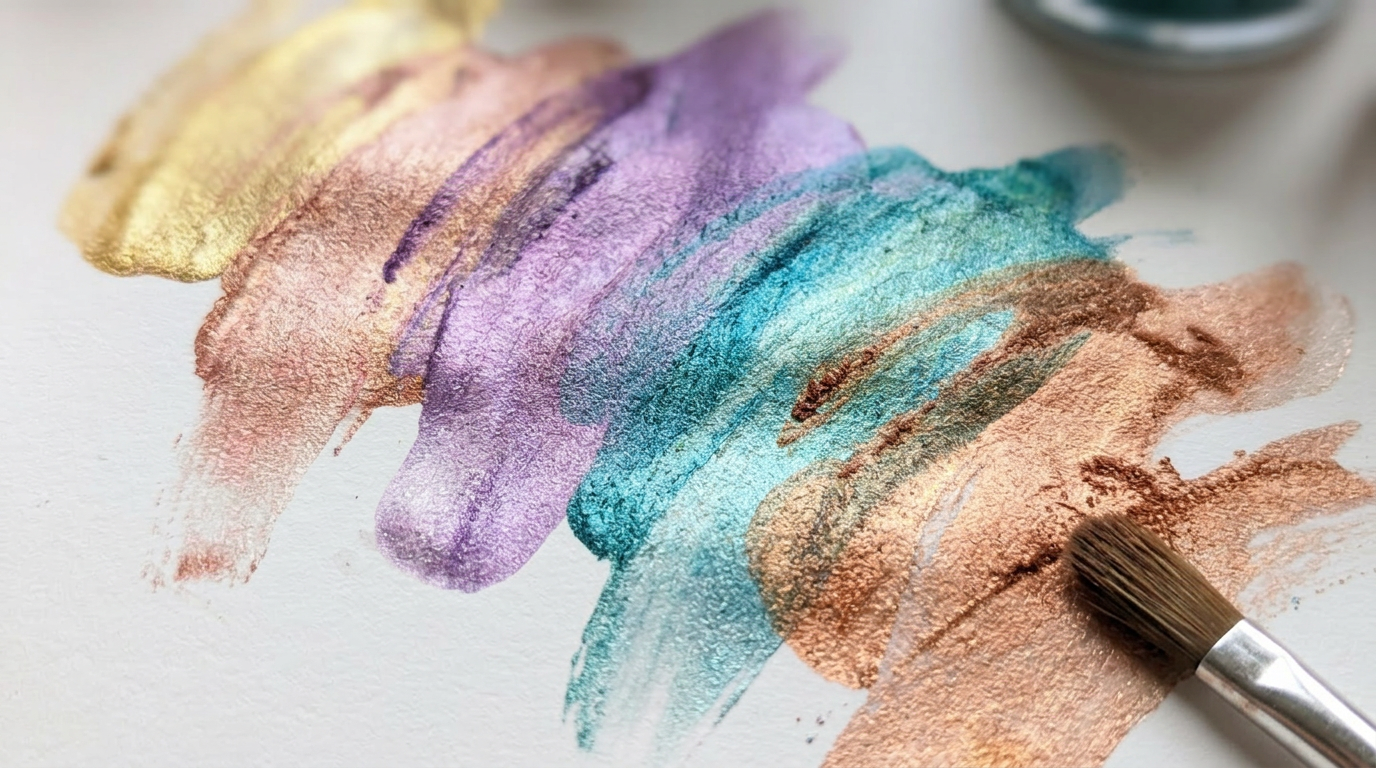
Color Mixing Magic: Blending Pearl Pigments
Here's where the real fun begins. Art 'N Glow pearl pigments can be blended together — dry before adding to resin, or directly in your mixing cup — to create custom shades that are entirely and uniquely yours.
A few combinations that always look incredible:
- Gold + Rose Gold: Warm, glowy, and beautiful in jewelry, coasters, and trays
- Deep Blue + Teal: Oceanic and moody — perfect for wave art or geode pours
- Purple + Silver: Cosmic and ethereal — ideal for galaxy-inspired pieces
- Bronze + Copper: Rich, earthy tones that look stunning in organic or botanical castings
- White + any color: Softens the shimmer without washing it out — beautiful for pastel or dreamy effects
Start with your dominant color and add the secondary pigment a little at a time. Mixing dry before adding to resin gives you the most control over the final blend.
Pro Tips (and a Few Mistakes to Avoid)
✓ Store your pigments sealed and away from moisture. Pearl pigments are a fine powder, and humidity can cause clumping over time. A cool, dry drawer works great.
✓ Test colors in small batches first. Pearl pigments can read differently once fully cured versus when they're still wet — a quick test pour before committing to a larger project saves a lot of guesswork.
✓ Build layers light over dark. For multi-layer pours, start with your deepest shade and add lighter or metallic layers on top — the result looks intentional and polished.
✗ Don't add pigment to unmixed resin. Always combine your Part A and Part B first. Adding pigment early makes it harder to tell whether your epoxy resin is fully and evenly mixed.
✗ Don't rush the stir. Rushing the mixing step is the most common reason for streaky or uneven color. Slow down and let the pigment really incorporate.
You've Got This
Pearl pigments have a way of making every project look a little more magical — and now you know exactly how to use them. Whether you're chasing a soft champagne shimmer or a bold metallic swirl, Art 'N Glow pearl pigments are ready to make it happen.
We'd love to see what you create. Share your piece on Instagram and tag @artnglow — we're genuinely proud of every make that comes through, and we can't wait to see yours.


Leave a comment